



 Deutsch
Blog / Tips
How to Build a Bamboo Gazebo
May
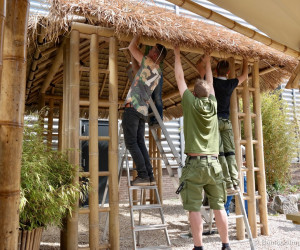
Building a bamboo gazebo is easy with ourBali gazebo kit . The kit consists of 19 parts, including 4 prefabricated bamboo corner posts and 4 waterproof roof panels made from dried palm leaves and bamboo. All parts are numbered and supplied with matching nuts and bolts. Building this bamboo gazebo takes about 2 hours with 3–4 people.
Contents
|
Tools required:
Build time:
|
Step 1
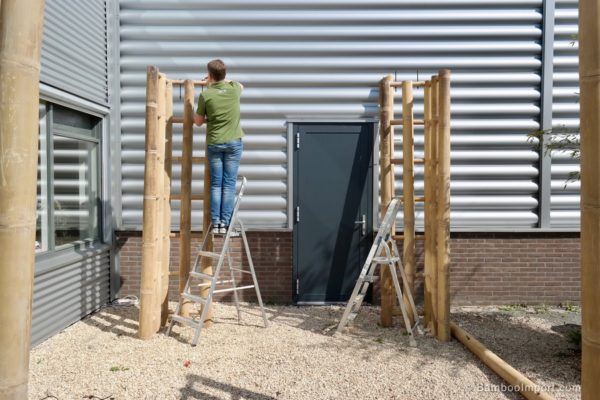
Place the corner posts 3 and 4 metres apart (outer dimensions) to form a rectangle. Make sure the side holding the bolts faces upward.
Step 2
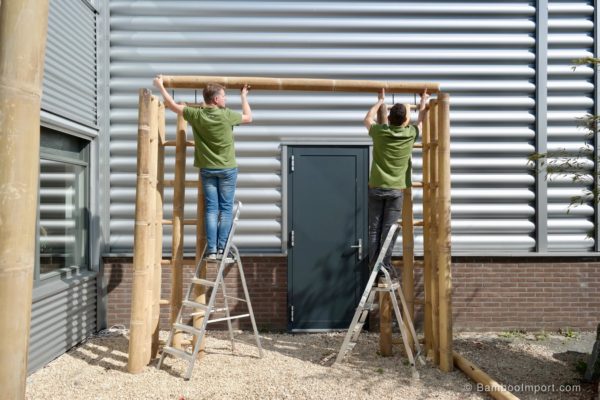
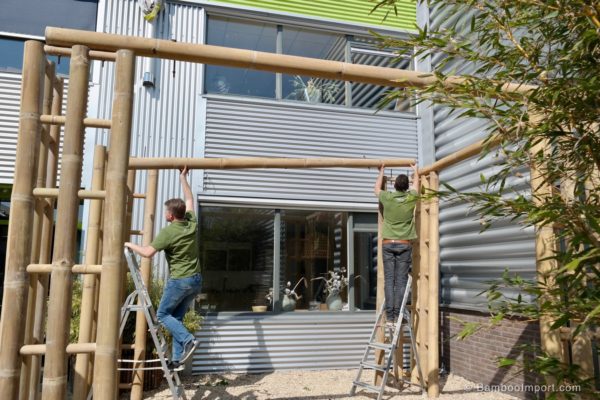
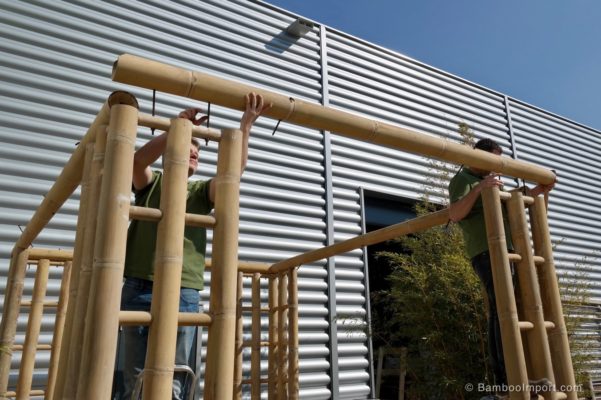
Place the first bamboo cross beam on top of the corner posts. Each part is numbered, so make sure the numbers on the cross beam match the numbers on the corner posts. Push the bolts on the corner posts through the holes in the cross beam. Do not tighten the nuts fully until the entire base of the gazebo is assembled.
Step 3
Place the first bamboo cross beam on top of the corner posts. Each part is numbered, so make sure the numbers on the cross beam match the numbers on the corner posts. Push the bolts on the corner posts through the holes in the cross beam. Do not tighten the nuts fully until the entire base of the gazebo is assembled.
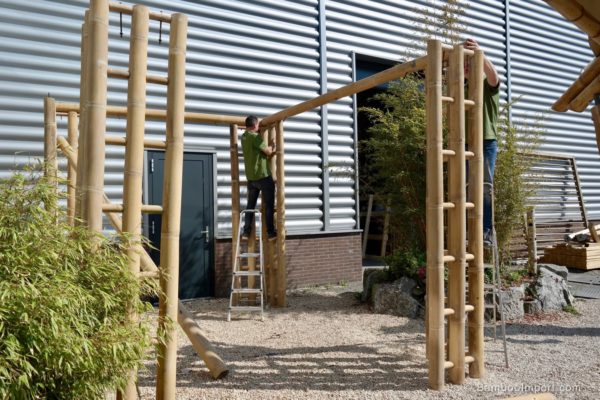
Repeat step 2 for all the other cross beams.
Step 4
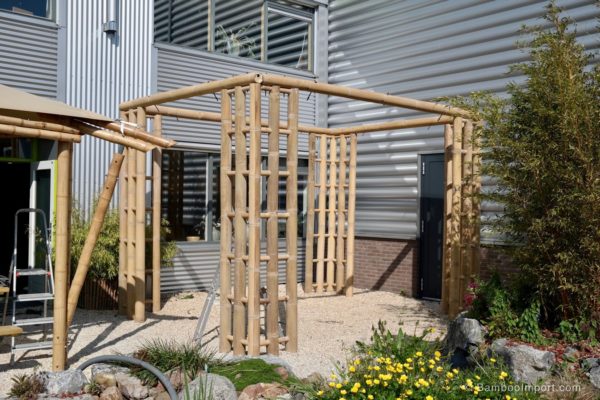
Now that the entire frame of the bamboo gazebo is assembled, you can tighten the nuts one by one. Make sure all the bolts in the cross beams are positioned so that thehooks are on the outside and all the nuts are on the inside of the beam.
Step 5
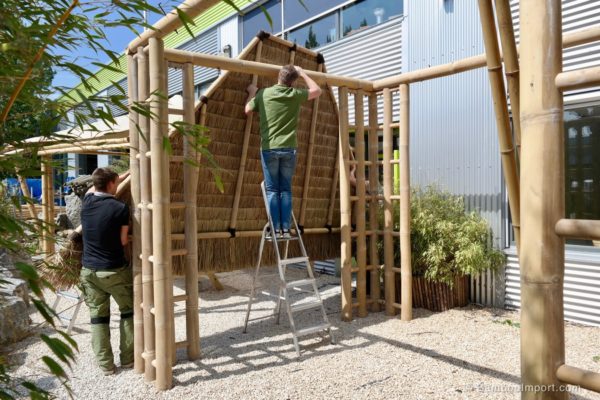
Take one of the two largest roof panels and lay it over one of the long cross beams.
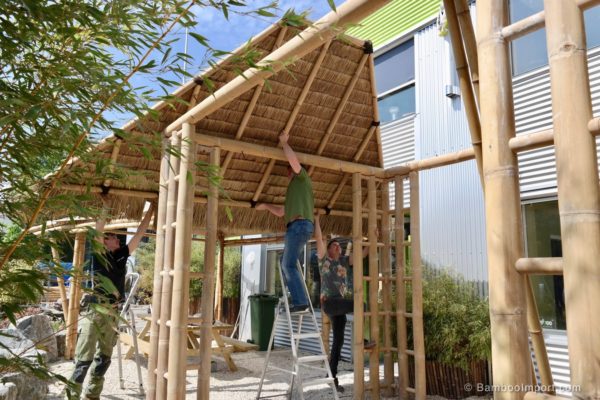
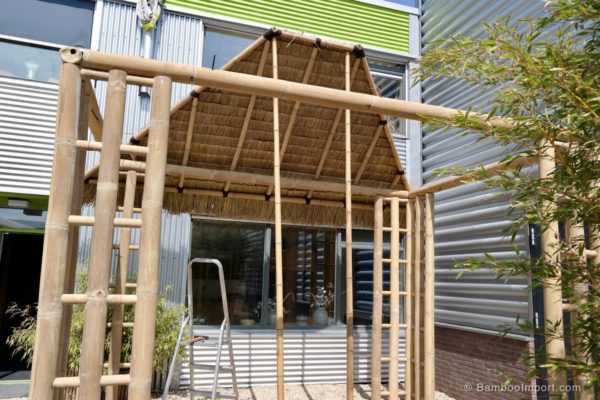
The roof panel has two bolts that should rest on the hooks on the bamboo cross beam. Donot tighten the hooks fully. Support the ridge of the roof so the next roof section can be placed.
Step 6
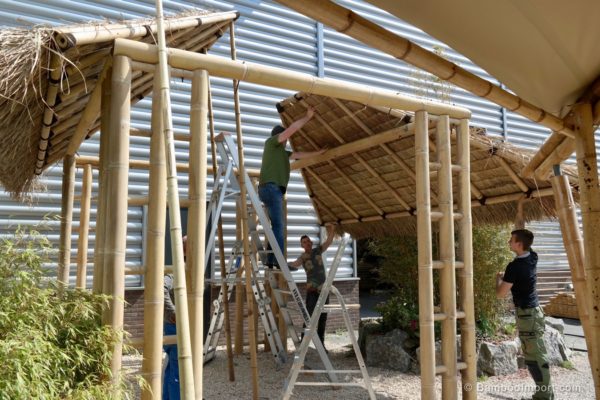
Now place the second long roof panel on the opposite side, in the same way as described in step 5.
Step 7
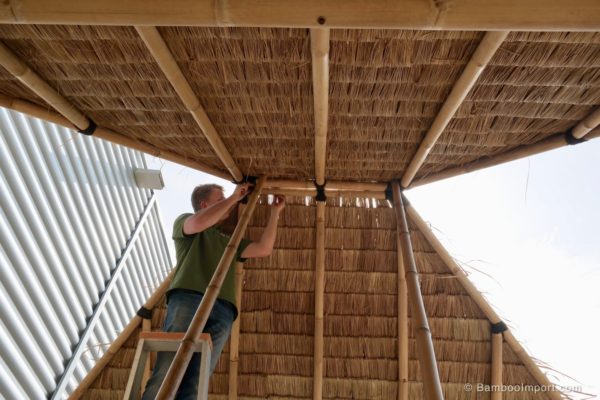
Once the bottom part of the roof panel is attached to the hooks on the cross beam, you can then fix the two bamboo poles at the ridge with bolts. The holes are already pre-drilled.
Step 8
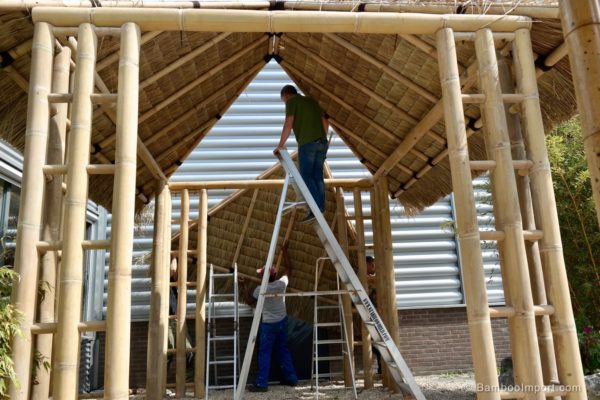
Place one of the two smaller roof sections between the larger roof sections. Again, secure the roof panel using the hooks attached to the cross beam.
Step 9
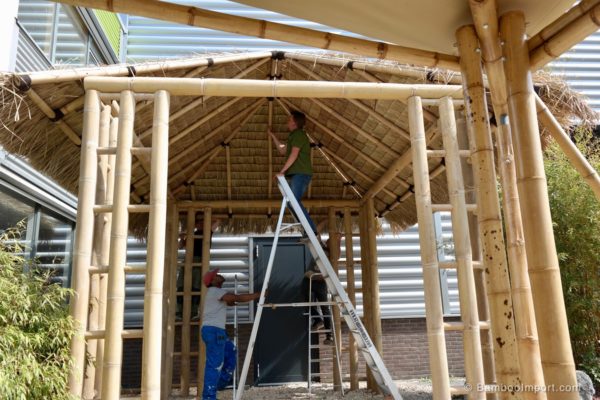
The tip of the smaller roof panel falls exactly into the ridge of the two larger roof panels and clamps in place automatically. There is no need to secure the roof panel with extra bolts.
Step 10
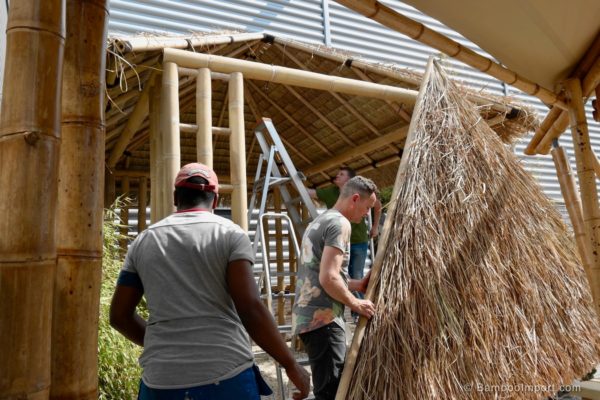
Place the second triangular roof panel on the opposite side, in the same way as described in the previous steps.
Step 11
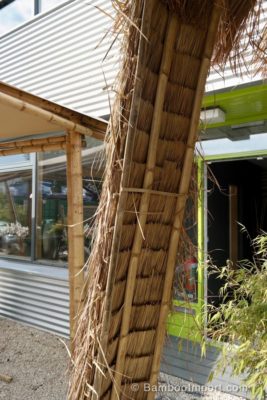
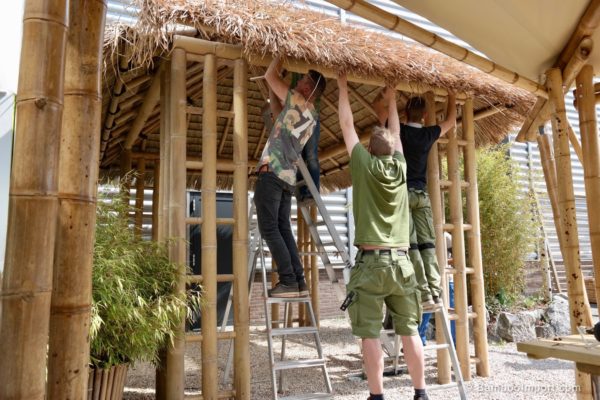
To waterproof the thatched roof of the gazebo, attach the included thatch strips over the corners of the roof.This can be done using steel wire or screws.
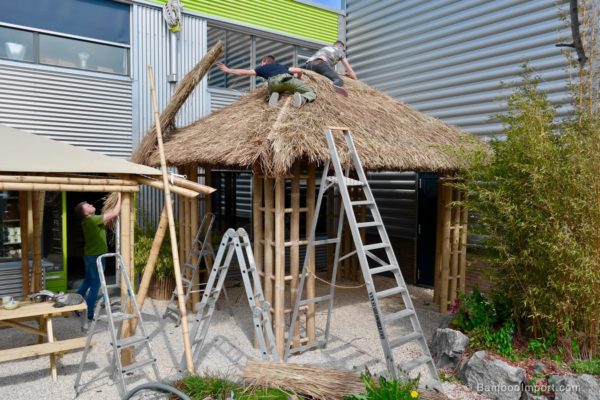
Finally, place the two included pieces of thatch on the ridge of the roof and secure them with the included half-round bamboo pole, which finishes off the ridge.
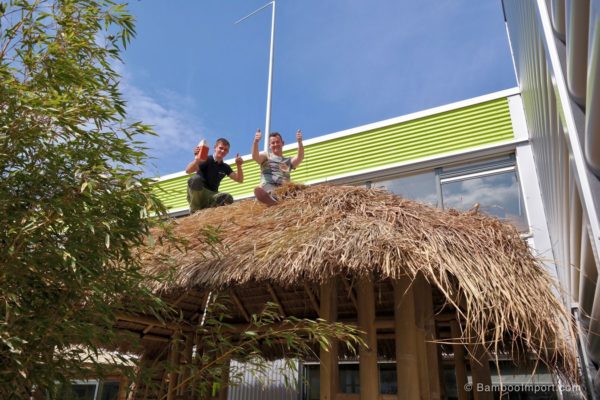
Step 12
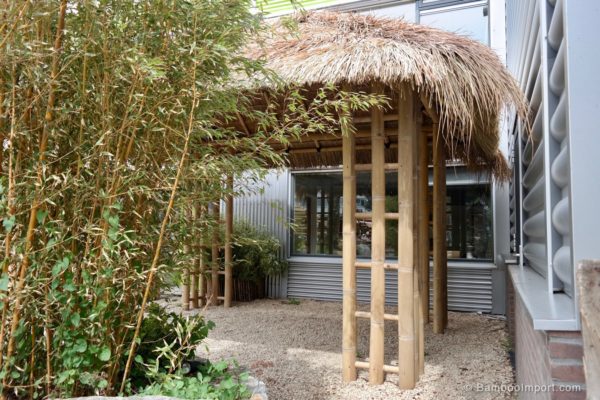
Optionally, you can trim the overhanging thatch at the corners of the roof so everything is the same length.
Step 13
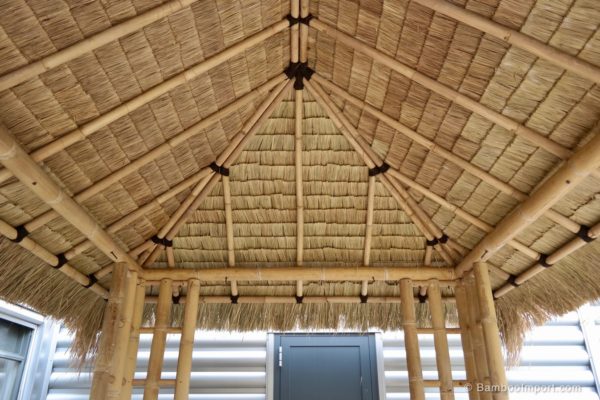
Enjoy the end result — your luxurious bamboo gazebo is ready!
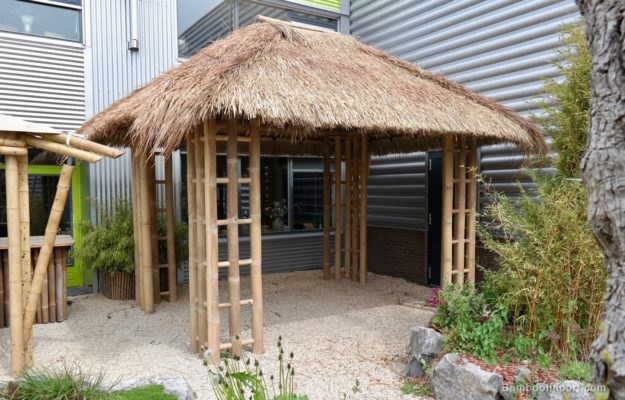
With this unique bamboo gazebo, you get a beautiful piece of exotic Indonesian style and craftsmanship. The bamboo garden pavilion is made from the finest materials and specially designed as a tropical canopy for your garden, patio, beach club, festival, fair, or event.
Don’t hesitate — order yourbamboo DIY kit today!
