



 Deutsch
Blog / Tips
How to Build a Wood and Bamboo Pergola
May
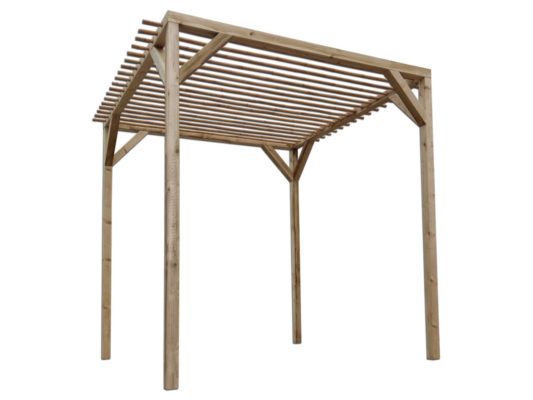
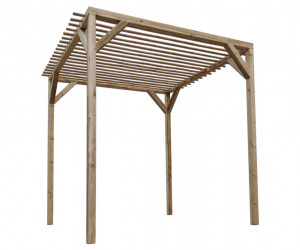
With our prefabricated DIY kit, you can easily build a wood-and-bamboo pergola. The beautifulwooden pergola with bamboo beams is specially designed to support vines, roses, and grapes in the bamboo roof. Once installed, you can use it as a freestanding canopy in the garden or on a patio.
The pergola kit includes:
|
Tools required:
Build time:
|
Step 1:
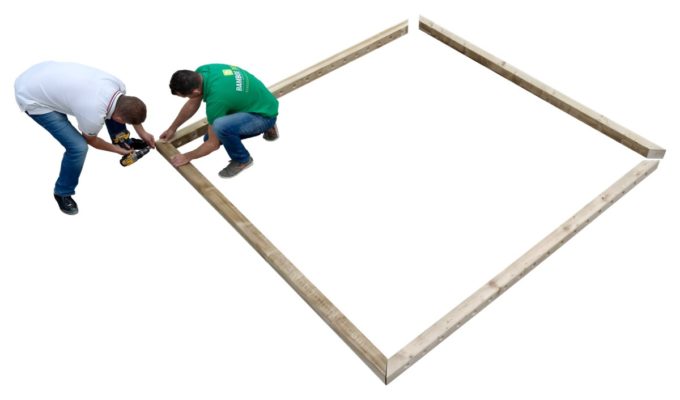
Lay the connected beams on the ground so they form a square (this is the roof of the pergola). The pre-drilled beams should face each other.
Step 2:
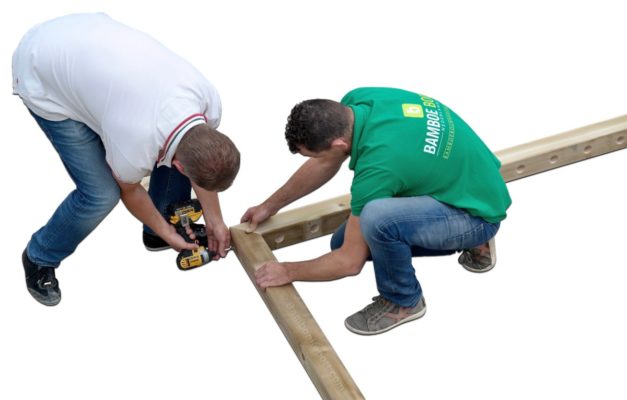
Use the 4 mm drill bit to pre-drill the corners of the roof before fixing them together. Drill one hole in the beam without pre-drilled holes for the bamboo poles, and drill two holes in the beam with pre-drilled holes for the bamboo poles. Now you can secure the corner at three points with 5 x 120 mm screws without the screws getting in each other’s way.
Step 3:
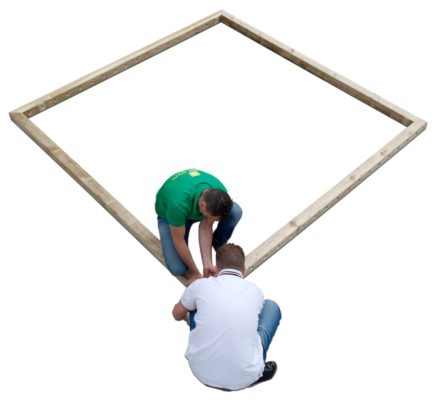
Repeatstep 2 for all corners of the roof, so you end up with a solid square.
Step 4:
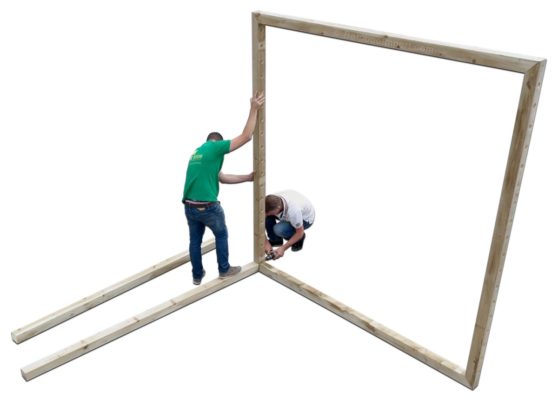
Set the roof upright and attach the first post. Pre-drill two holes and attach the post to the corner of the roof with two 5 x 120 mm screws.
Step 5:
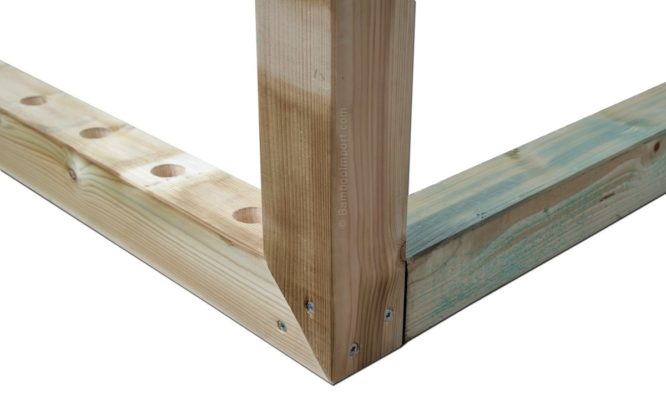
Close-up of how the screws are fixed into the wooden beams.
Step 6:
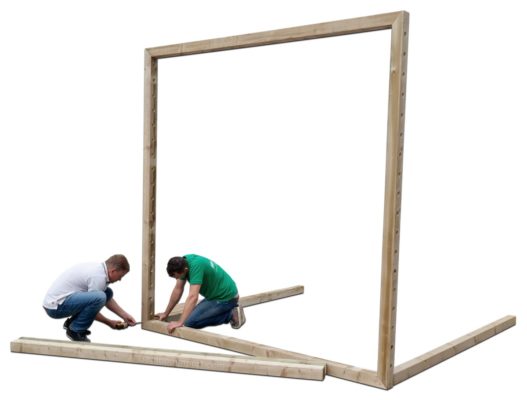
Repeatstep 4 to attach the second post.
Step 7:
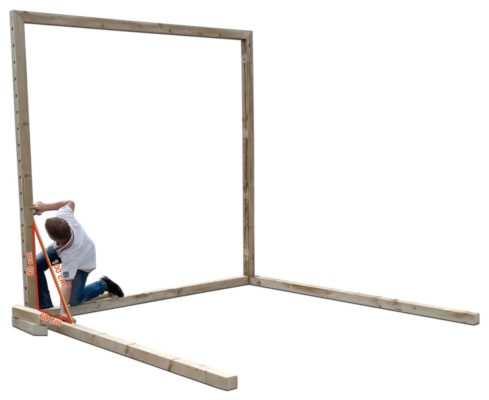
Make sure the roof is positioned at a right angle to the upright posts. Use a framing square, or applythe 3-4-5 rule, if you don’t have a carpenter’s square available.
With the 3-4-5 rule, measure 60 cm from the inside of the corner and draw a small line on the edge of the post. Do the same on the roof’s pre-drilled beam, but at 80 cm. Now measure the diagonal distance between the two marks. The distance should be exactly 100 cm to form a perfect 90-degree angle.
Step 8:
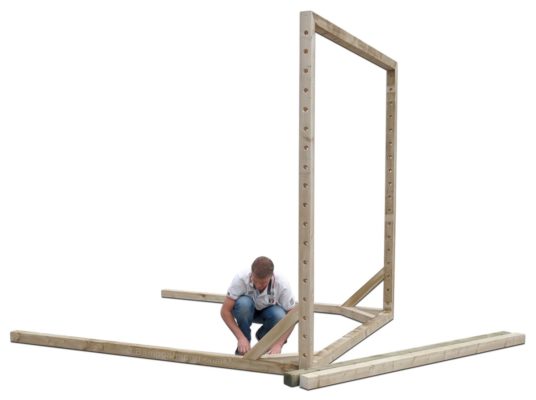
Position and pre-drill the wooden braces at each corner.
Step 9:
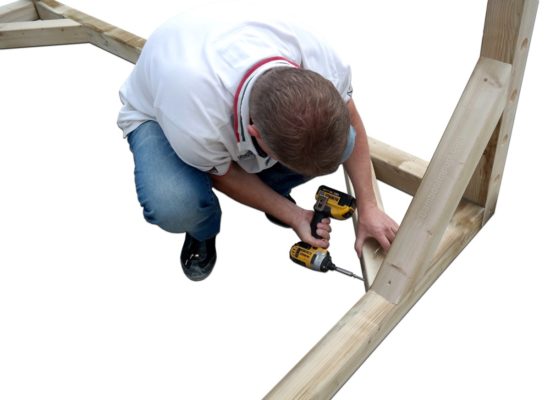
Attach the wooden braces with 5 x 80 mm screws as shown in the picture.
Step 10:
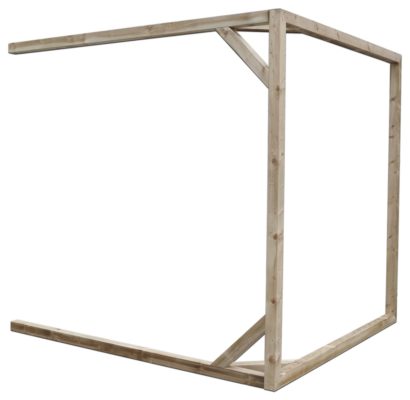
Once the braces are properly attached, you can turn the pergola a quarter turn to attach the third post.
Step 11:
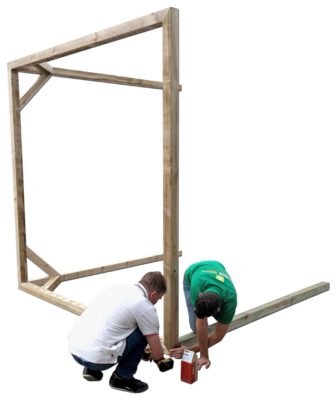
Attach the post and braces as described earlier.
Step 12:
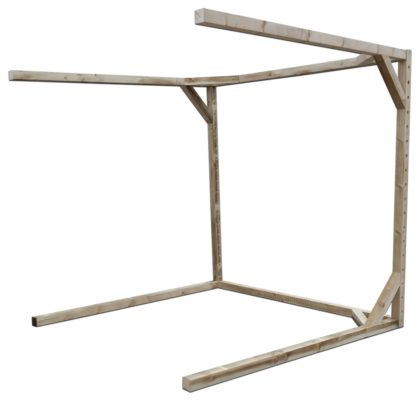
Turn the pergola another quarter turn to secure the last post.
Step 13:
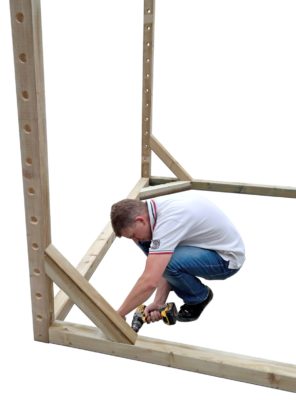
Attach the last two braces.
Step 14:
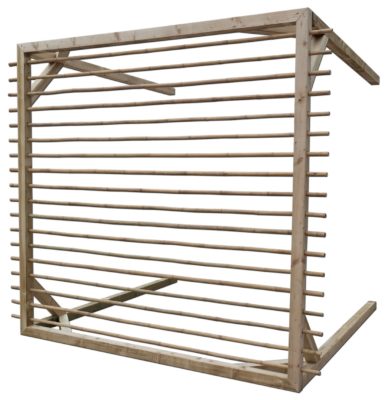
Once the pergola’s wooden frame is assembled, you can push the bamboo poles through the pre-drilled holes in the roof.
Step 15:
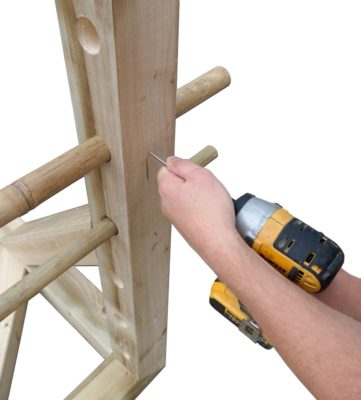
The bamboo tubes stick out 14.5 cm from the roof frame on both sides. Make sure the bamboo poles are neatly aligned, and secure them with 4 x 40 mm screws.
Step 16:
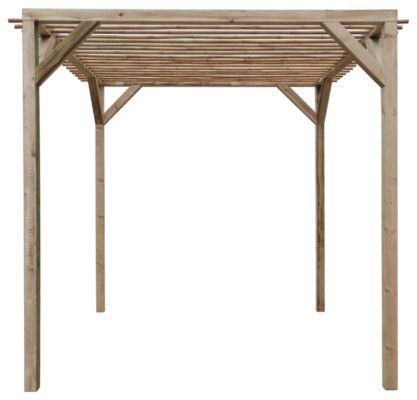
Stand the pergola upright, and that’s it — it’s ready!
Optionally, you can attach post supports to the posts of the wooden pergola, or dig the posts into the ground.
